Leaving an Impression
Make a signature statement with a stamp
In 1765, a stamp was a much-hated symbol of oppression through taxation and a galvanizing force in giving American colonists a voice.
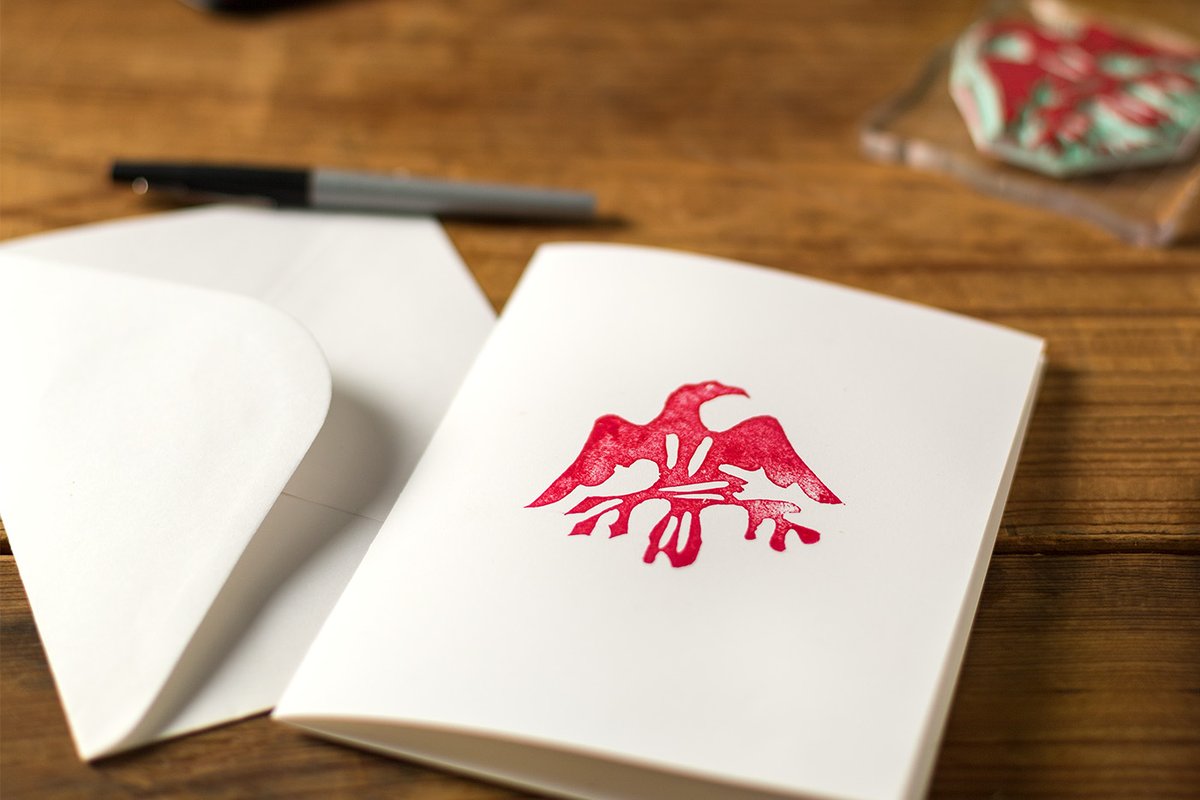
Today, stamps can be a way to make a statement. Designs that are both beautiful and meaningful can lend an identifying mark — and a touch of individuality — to letters and other printed material.
An eagle featured in the design on an appliquéd quilt top made in the Polynesian Islands is the inspiration for a stamp project, but any image that moves you could be the focus. The red and white quilt, which is part of Colonial Williamsburg’s collection, includes a central pattern of a radiating compass with peace eagles gracing each corner.
The bold, large patterns and cutting technique in the quilt top reflect Hawaiian aesthetics and a strong indigenous tradition.
The quilt top’s pattern is achieved by folding and cutting a solid red cotton fabric. Though folding isn’t part of the stamp process, the cuts make all the difference.
Supplies
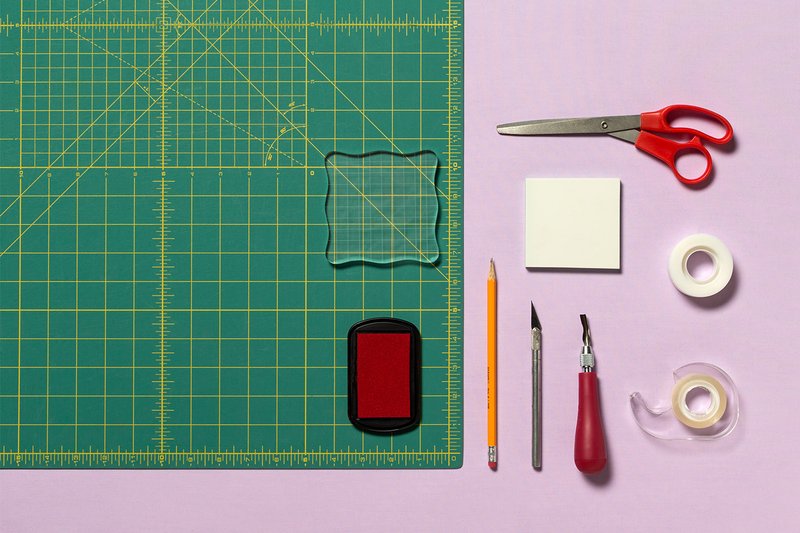
- Scissors
- Pencil
- Tape
- 4x6 Rubber Stamp Carving Block (or cut to preferred size)
- Linoleum Cutter in Assorted Sizes
- Self-Healing Board
- Precision Knife
- Ink Pad
- Acrylic Stamp Block
- Double-Sided Tape
- Eagle Template
Instructions
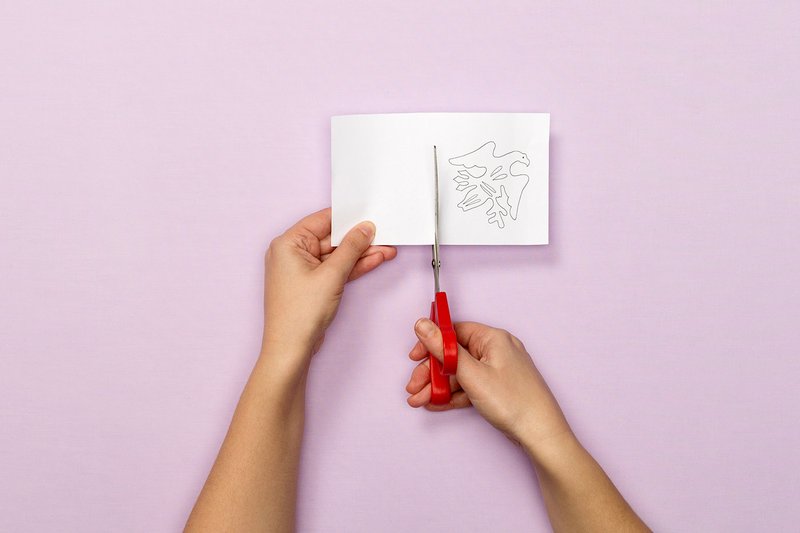
Step 1
Print the eagle template and trim.
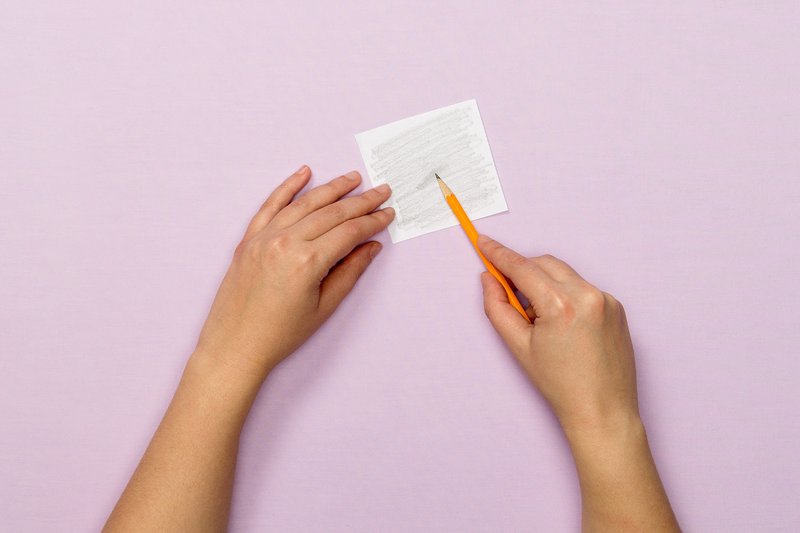
Step 2
Use the edge of a sharpened pencil and burnish the back of the template.
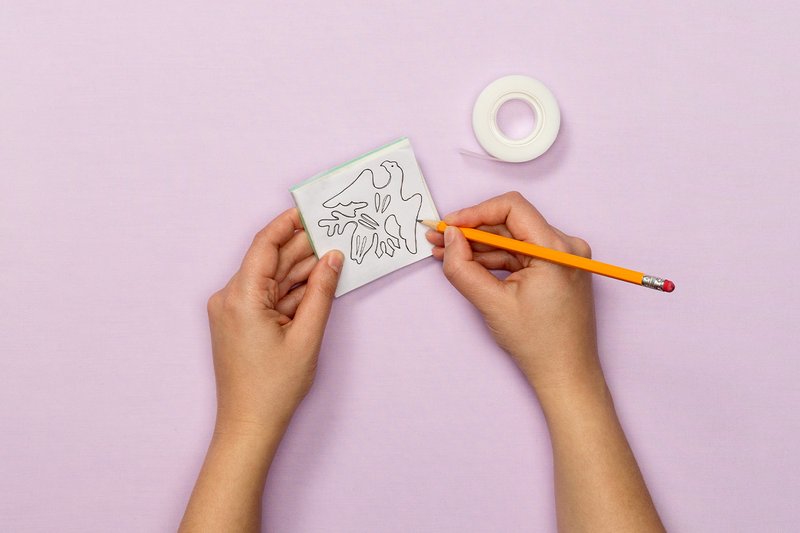
Step 3
Tape the template to the carving block and trace the design.
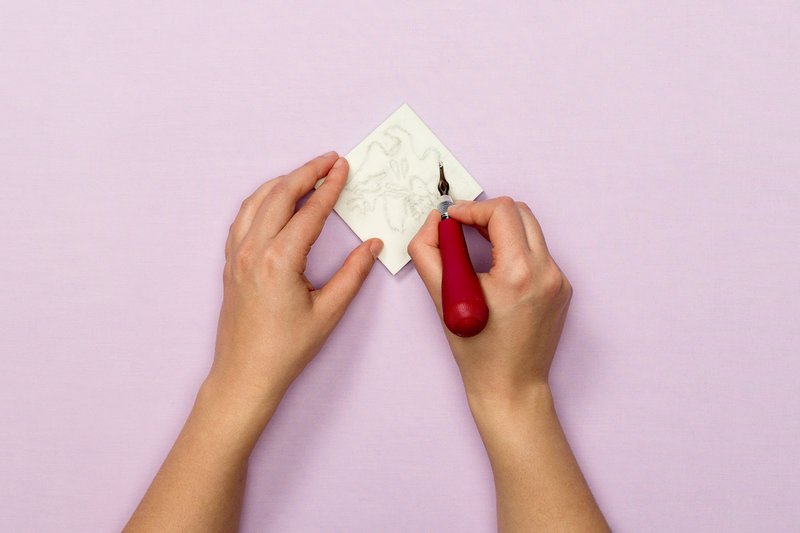
Step 4
Remove the template. With the #1 linoleum cutter (the smallest blade setting), carve around the outer edge of your tracing. Note: You can move the cutter, but you can also move the carving block. Allow the cutter to do the work.
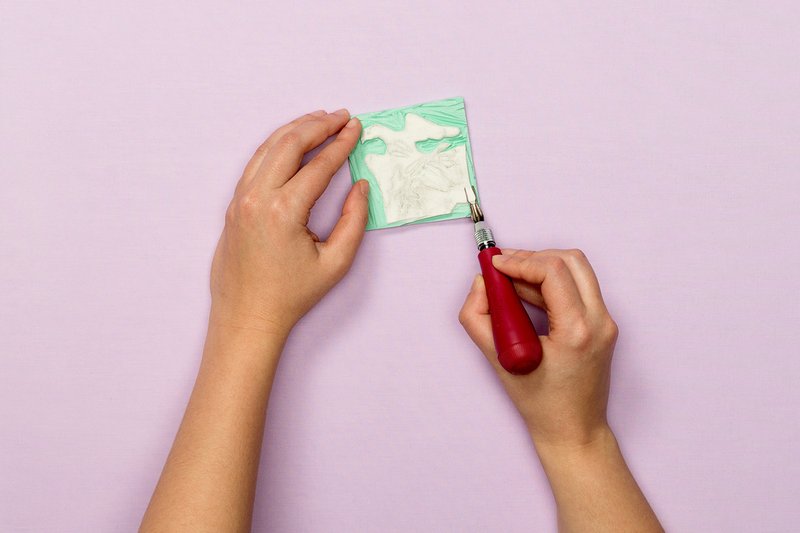
Step 5
Using a #5 blade, remove the area around the design, including the interior. Note: This step is a great opportunity to try out the other blades and experiment with the cutting.
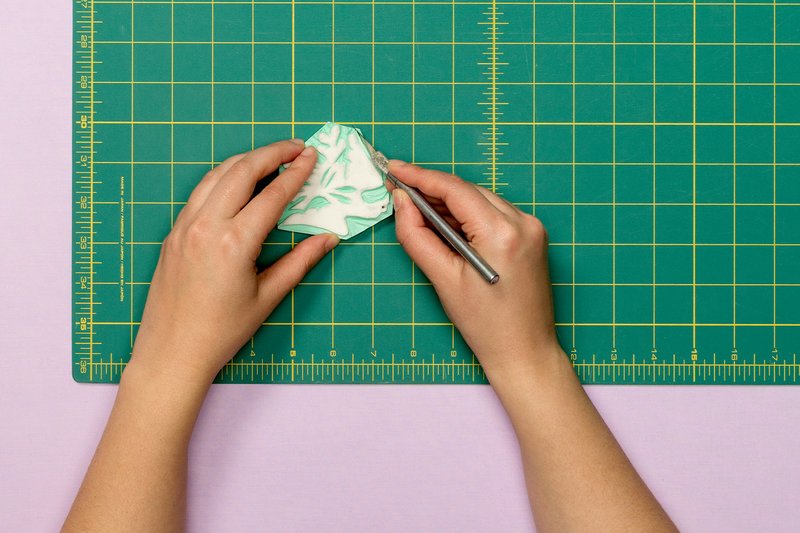
Step 6
On a self-healing board, use a precision knife to cut as close as you can around the design.
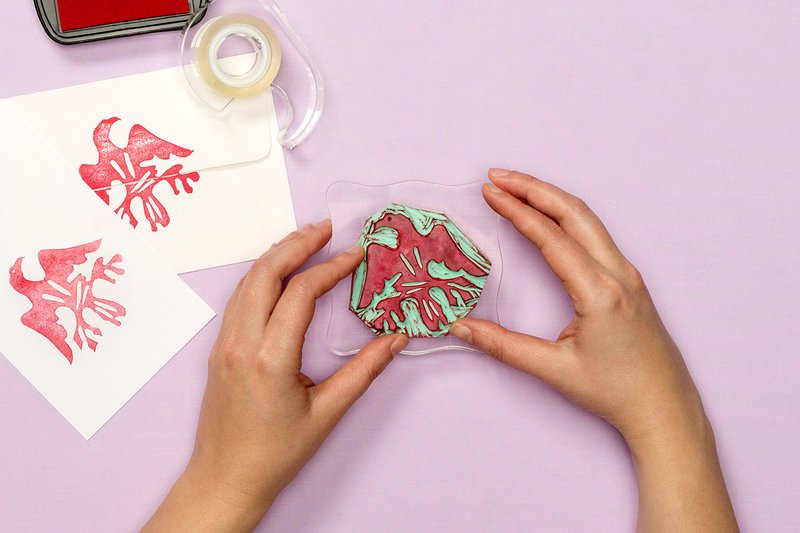
Step 7
Test your stamp with ink. Make adjustments, as necessary. Once you’re happy with your stamp, mount it to an acrylic stamp block using double-sided tape.
